2 Mic Drum Recording Setup
2 mic drum recording setup is certainly nothing new. Although this approach may seem restrictive, it can yield some great results. If you listen to those great drum sounds from the hit songs of the 1950’s & 1960’s even up to modern music, they’ll have used a 2 mic drum recording setup at some point. Most of those drum recordings have stood the test of time and still sound amazing. Even drummers using this technique today sound good.
So, let’s look at a 2 mic drum recording setup.
All you’ll need is:
- 2 microphones (ideally with one condenser mic included) with the relevant leads and a couple of microphone stands
- A two input audio interface / sound card
- A digital audio workstation (DAW) / recording software
- Headphones / In Ear Monitors
- Drums and cymbals
- A Room / Rehearsal Studio / Studio Space
Drum recording is capturing the acoustic sounds made by the drums onto tape or digital software. This is done via the use of microphones capturing the audio signal. These signals are then processed through a mixing console and outputted onto whichever format you’re using. Recording onto tape happens less these days and artists tend use digital recording onto a DAW (digital audio workstation). Drums are an integral part of music compositions and even though drums are programmed these days instead of being played; users still like to hear the human element in drumming. For example by capturing a drum performance you change the ‘feel’ of a song.
You can use 1 Microphone or as many as you like (within reason). Personally I have played in sessions using just the 1 mic up to 16 microphones on the drums. The benefits of more microphones is that you have more options when controlling the individual drum sounds. That said, if you are limited with the amount of microphones you can still get a great drum sound. It’s about capturing the performance of the drummer.
2 Microphones for Drum Recording
Obviously you’ll require 2 microphones with a 2 mic drum recording setup. Ideally you’ll want to use the popular combination of a condenser microphone (as they provide a smoother more natural sound, particularly at high frequencies) and a dynamic mic. However, this is not an absolute combination. You can get great results using two of the same type of microphone.
For this 2 mic drum recording setup, my choice of microphones include;
- a Blue Spark condenser microphone as an overhead mic
- a Shure Beta 52 microphone for the kick drum mic.
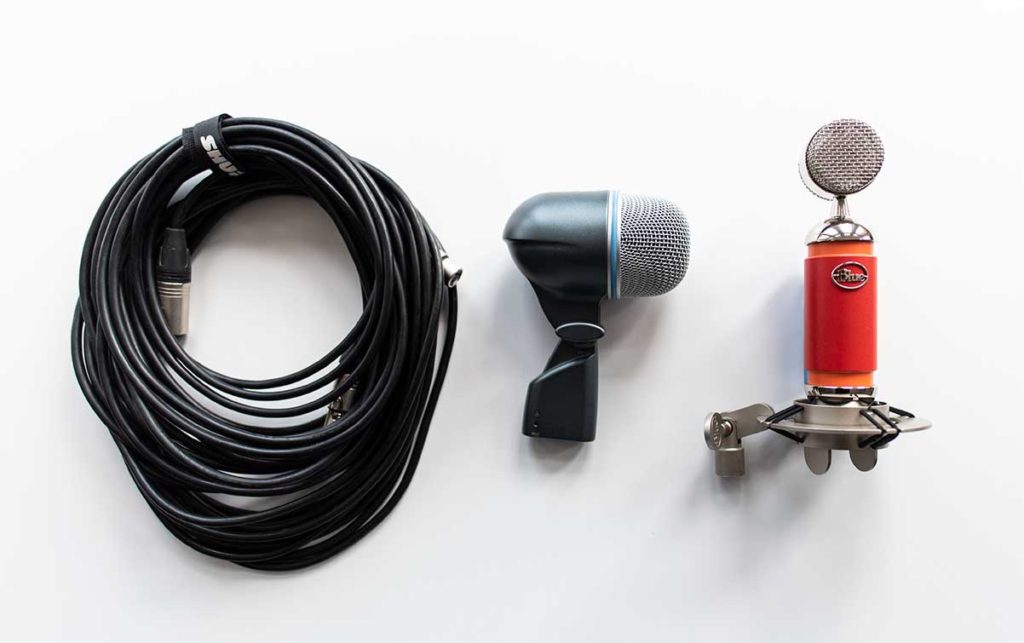
The Blue Spark condenser mic was a relatively cheap condenser mic. Alternatively, you can get some great bargains on Amazon for less money. My dynamic Beta 52 mic is an industry standard kick drum microphone that picks up the lower end frequencies very well.
Recording drums with 2 mics – 2 Input Audio Interface / Sound Card
With the 2 mic drum recording setup, the job of the Audio Interface / Sound Card is to take the analog signal (via the microphones) and convert them into a digital signal – Analog to Digital Converter (ADC). This is what goes into your DAW. Likewise when you want to hear back your recording, the interface will convert digital signal back to analog (DAC).
My choice of 2 input audio interface / sound card is the Apogee Duet. You don’t have to have the top of the range equipment for a 2 mic drum recording setup. For example, Focusrite provide a great range of products; their Scarlett 2i2 is a popular (and affordable) interface. If that’s beyond your budget, there are others that will do the job which you can get easily online. You may want to do some research on the best buy though.
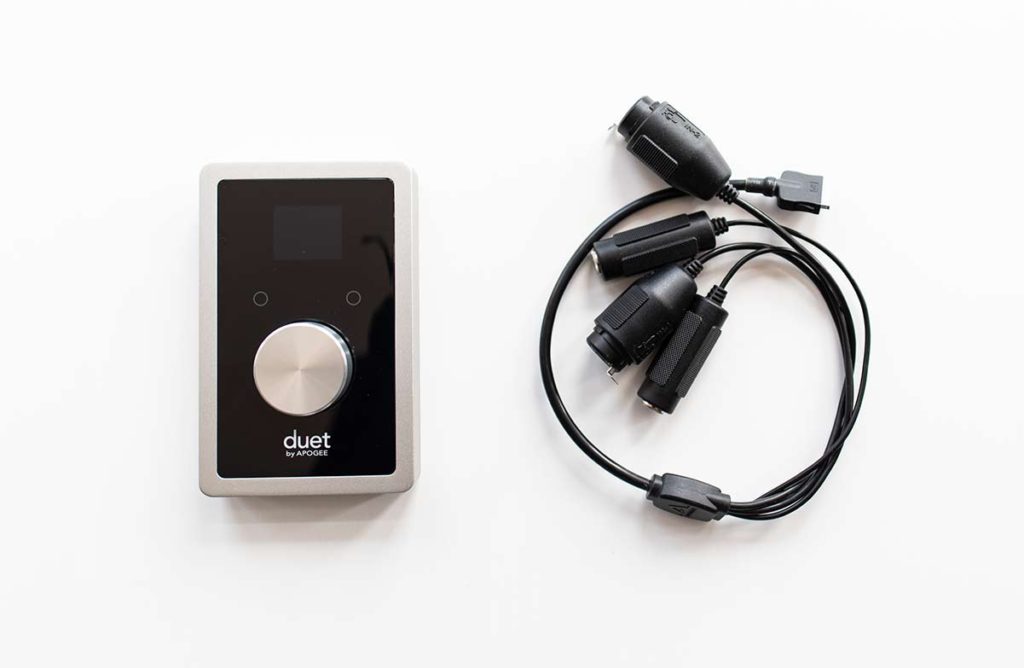
Once you’ve got your microphones in place it’s time to work on the levels. A good rule of thumb is to hit the drums a bit louder than usual to begin with. You want the levels not to peak so that you have some headroom left during the actual take. The Apogee duet has a revolving dial to help adjust the levels and a 48V power option for the condenser mic – which you can enable via the Apogee software on the computer.
A digital audio workstation (DAW) / recording software
A digital audio workstation (DAW) / recording software is an electronic device or application software used for recording, editing and producing audio files.
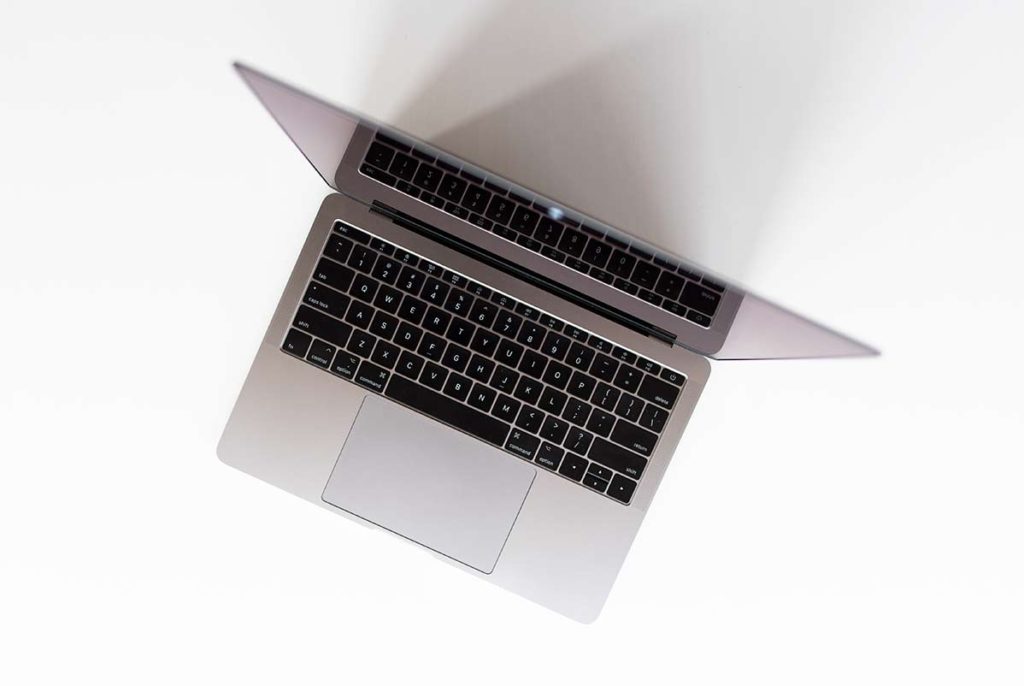
With a 2 mic drum recording setup, it’s up to you which DAW you prefer; Cubase, Pro Tools, Studio One, Reaper, Splice, Ableton etc. Obviously use the one you’re most comfortable using. For this session I used Logic Pro X on my MacBook Pro laptop. However, you can get great results with the FREE Garage Band DAW available on any Mac computer for example.
Headphones / In Ear Monitors for Drum Recording
Much like using your preferred DAW, get yourself a decent pair of headphones / In Ear Monitors. My personal favourite is a pair of Seinnhesier HD25’s. They’re an excellent all round pair of headphones, especially when drum recording and playing live. Furthermore, they handle volume really well without distorting and have tremendous clarity. Great value for money.
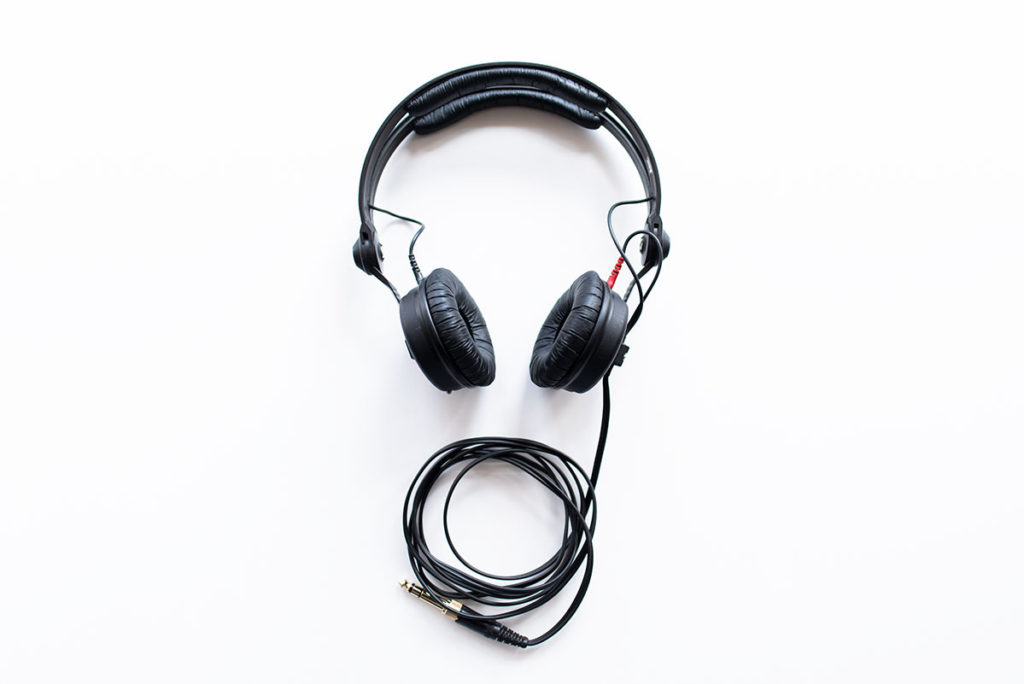
You’ll want to hear yourself drumming very clearly in the mix. Not only will this enable you to balance out the microphone levels, it will also help you balance out your playing. N.B. You’ll find you may have to hit the cymbals lighter when recording drums with 2 mics. Especially with the condenser microphone above you.
Drums and cymbals
Ideally you’ll have good quality drums and cymbals for a 2 mic drum recording setup. Although, if you’re starting out or don’t have the budget for quality equipment you can still manage without. As you can see in my video, my choice of drum kit was an in-house kit at a rehearsal studio. It’s not the top-of-the-range drum kit and the heads have been severely used. However, with a bit of tuning and dampening you can make the most out of it. Furthermore, the most important thing capturing your performance.
That said, it is worth investing in quality cymbals due to their sound / tone. Cymbals (by design) are high pitched and can dominate any overhead microphone if played too hard or in excess. Quality cymbals produce a nicer sound – if played properly. Inevitably, this will help you with your mix when recording drums with 2 mics.
A Room / Rehearsal Studio / Studio Space
Obviously you are going to need a Room / Rehearsal Space / Studio Space recording drums with 2 mics. You may already have a room or studio space where your drums are already set up and ready to go. Otherwise, book yourself some time in a local rehearsal studio. The rooms will already be soundproofed and through a bit of research / experimentation you may find the room adequate for you. You may even be able to rent a church or a town hall.
There’s a lot of debate about the type of room surface you need for a GREAT drum sound. Especially as poorly recorded tracks at source will not bode well for the mix. That is true but these days you’ll find pretty good drum tracks recorded almost anywhere. There’s a drummer online who records his drums at his storage facility. The room is has a mixture of concrete and metal which isn’t even sound treated! It goes to show that a drummer who knows HOW to play and WHAT to do can get great results almost anywhere. Remember, the performance is what you’re really trying to capture.
Besides with the FREE software plug ins available nowadays, you can get some great end results.
Microphone Placement and Performance with a 2 Mic Drum Recording Setup
Microphone placement and performance with a 2 Mic Drum Recording Setup is important. The standard mic positioning when recording drums with 2 mics is to have the condenser mic overhead and the dynamic mic in front of the kick drum. Positioning the condenser mic above the drums about 4ft (120cm) above the snare drum / tom tom should be central enough for the overall drum sound. The kick mic placed in front of the bass drum will help define and accentuate the bass drum. You may have to do some experimenting to find the mic placement suitable for you but this is a good starting point.
What’s great about a 2 mic drum recording setup is that it restricts your playing in a good way. As previously mentioned, if you play the cymbals too hard you’ll get nothing but cymbal bleed. Play them too softly and they may not cut through as desired. Play your drums too softly and you won’t get a good balance. So by using your ears and listening to your drum mix / balance of microphones you can balance your performance accordingly. Obviously this depends on variables such as instruments used etc.
Now this may be a new concept for some drummers but you’ll benefit greatly from learning how to balance your performance when drum recording. It’s also good for playing live as sound engineers will be able to balance the overall mix better.
Check out the great drummers; more often than not, they’ll play balanced and as a result, not only play great but sound great also.
Have a Go Recording Drums with 2 Mics
So if you don’t already, have a go at a 2 mic drum recording setup. A tip of the hat to the old ways of recording that’ll work just as well today.
Remember you can get a lot accomplished with only your; DAW / Laptop, 2 mics, audio interface. Easy to transport and to setup – so there are no more excuses, have a go at recording drums with 2 mics.
